There’s something undeniably magical about the holiday season—the twinkle of lights, the scent of freshly baked cookies, and the joy of sharing sweet treats with loved ones. Among all festive confections, Peppermint Creams hold a special place. These bite-sized delights combine the refreshing coolness of peppermint with the rich decadence of dark chocolate, creating a candy that’s both elegant and irresistible.
Making peppermint creams at home is more than just following a recipe; it’s a creative and relaxing experience. From rolling out the soft peppermint paste to decorating each piece with delicate chocolate patterns, every step is a chance to bring a little holiday magic into your kitchen. Plus, homemade peppermint creams make fantastic gifts—beautifully packaged, they’re sure to impress friends, family, or coworkers.
Whether you’re an experienced candy maker or just starting out, this recipe is approachable yet impressive. With just a handful of ingredients—powdered sugar, condensed milk, peppermint extract, and chocolate—you can create a batch of sweets that tastes like they came from a gourmet shop.
Recipe Overview
Peppermint Creams are soft, melt-in-your-mouth candies flavored with peppermint and elegantly drizzled with dark chocolate. The smooth, sweet peppermint center balances perfectly with the slight bitterness of 70% cacao chocolate, resulting in a treat that’s refreshing, festive, and utterly addictive.
Ingredients & Instructions
Ingredients
- 1 tablespoon condensed milk (full-fat)
- 1–2 teaspoons peppermint extract
- 14 oz powdered sugar, sifted
- 3.5 oz dark chocolate chunks (70% cacao)
Step-by-Step Instructions
1. Prepare the Peppermint Paste
In a large mixing bowl, combine powdered sugar, condensed milk, peppermint extract, and 2 tablespoons of water. Stir thoroughly until a stiff paste forms. Adjust the consistency by adding more water (a few drops at a time) if too dry or extra powdered sugar if too sticky.
Tip: The paste should be firm enough to hold its shape but pliable enough to roll out without cracking.
2. Roll Out the Paste
Dust a clean work surface and a rolling pin generously with powdered sugar to prevent sticking. Roll the peppermint paste to a thickness of about 0.5 cm.
Pro Tip: Roll gently to maintain an even thickness; uneven rolling can affect the appearance of your finished rounds.
3. Cut the Rounds
Dip a 4 cm diameter cookie cutter in powdered sugar to prevent sticking. Cut out 24 peppermint rounds and place them on a parchment-lined tray. Allow them to dry slightly so they hold their shape during chocolate decoration.
Tip: If your paste is sticky, lightly dust the cutter with powdered sugar before each cut.
4. Melt the Chocolate
Place dark chocolate chunks in a heat-proof bowl over a pan of simmering water (double boiler method). Stir occasionally until the chocolate melts into a smooth, glossy consistency. Remove from heat and let it cool slightly before decorating.
Tip: Avoid overheating; chocolate that’s too hot can become grainy or lose its shine.
5. Decorate the Peppermint Rounds
Spoon the melted chocolate into a piping bag fitted with a small plain nozzle. Pipe a zig-zag pattern over each peppermint round. This not only adds visual appeal but also enhances the flavor with rich chocolate contrast.
Pro Tip: If you don’t have a piping bag, a small resealable plastic bag with the tip cut off works just as well.
6. Set the Chocolate
Place the decorated peppermint creams in the refrigerator for a few minutes, or until the chocolate sets completely. Once firm, they’re ready to enjoy or store for later use.
Tip: Keep them in an airtight container in a cool place to maintain freshness and texture.
Cooking Tips & Variations
1. Flavor Adjustments
- Adjust the peppermint extract to taste; start with 1 teaspoon and add more if you prefer a stronger mint flavor.
- For a slightly sweeter balance, add a few drops of vanilla extract to the paste.
2. Chocolate Variations
- Swap dark chocolate for milk chocolate if you prefer a sweeter finish.
- Mix white chocolate with a touch of green food coloring to pipe festive patterns over the rounds.
3. Shaping Fun
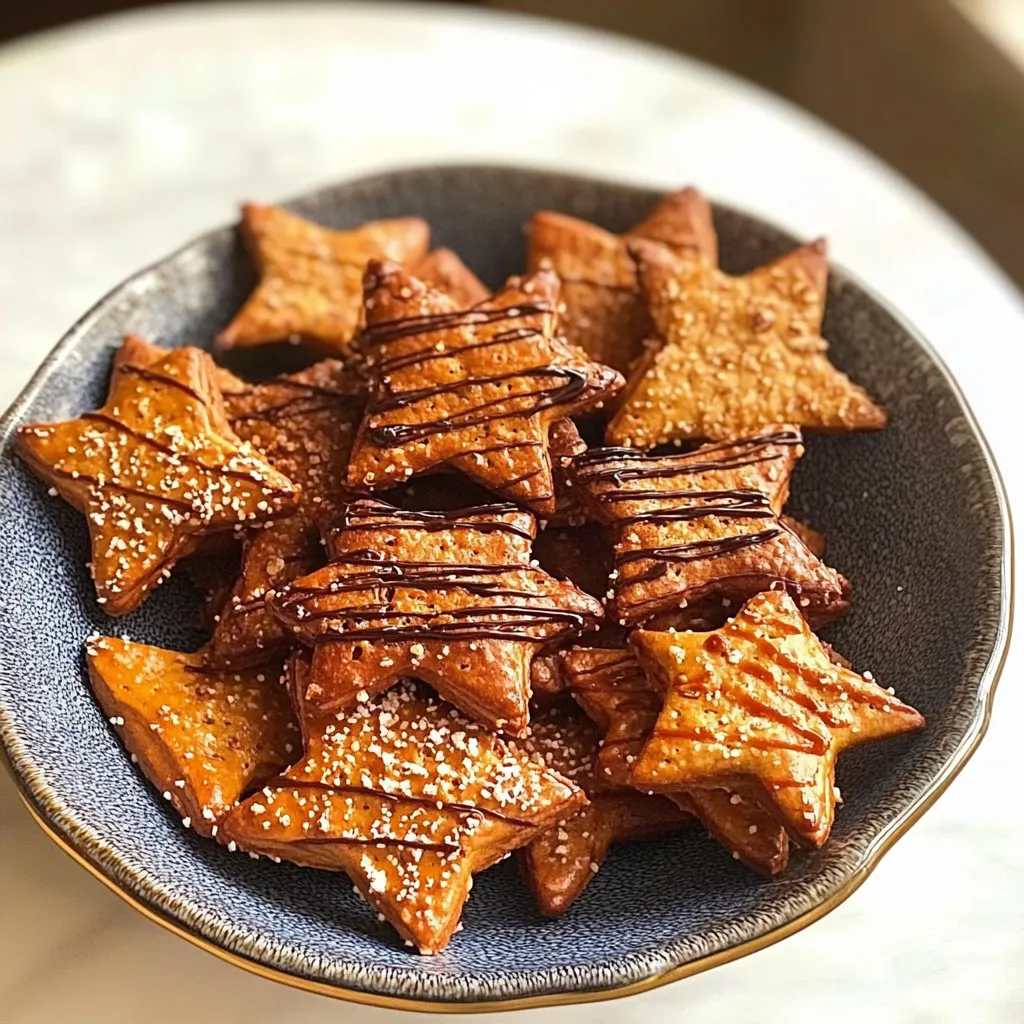
- Instead of rounds, use small cookie cutters to create stars, hearts, or holiday-themed shapes.
- Mini peppermint candies are perfect for gift jars or table favors.
4. Make Ahead
- Peppermint creams can be prepared a few days in advance. Store them in an airtight container in a cool, dry place or refrigerate for longer shelf life.
- Avoid storing in warm areas, as chocolate may soften and lose its shape.
5. Gift Packaging
- Arrange peppermint creams in small decorative tins or cellophane bags tied with ribbons for charming homemade gifts.
- Include a personalized tag for a festive touch.
Storage & Serving Suggestions
Storage
- Room temperature: Keep in an airtight container for up to 1 week.
- Refrigerator: Store for up to 2–3 weeks.
- Avoid moisture: Keep away from humidity to prevent stickiness.
Serving Suggestions
- Serve on a holiday dessert platter alongside cookies and truffles.
- Pair with hot chocolate or coffee for a cozy winter treat.
- Use as garnishes for cakes or cupcakes to add a festive peppermint touch.
Peppermint Creams are a delightful blend of sweet, minty flavor with a hint of chocolate richness. Easy to make yet impressive in appearance, they’re perfect for holiday celebrations, gift-giving, or simply indulging yourself. The combination of creamy peppermint centers and delicate chocolate decoration makes these candies a timeless favorite that will wow family and friends.
Whether you’re crafting them as part of a festive tradition or experimenting in your kitchen, peppermint creams offer the perfect balance of taste, texture, and charm. With a few simple ingredients and a little patience, you can create candies that look as beautiful as they taste.
FAQs
1. Can I make these candies ahead of time?
Yes! Peppermint creams can be made days in advance. Store in an airtight container in a cool, dry place or refrigerate.
2. Can I use other extracts besides peppermint?
Absolutely! Try spearmint, vanilla, or even almond extract for a unique twist.
3. How do I prevent the chocolate from melting the peppermint rounds?
Allow the chocolate to cool slightly before piping. The rounds should also be dry and slightly firm to hold the chocolate well.
4. Can I make them vegan?
Yes! Use a vegan condensed milk substitute and dairy-free chocolate.
5. How should I store them for gifting?
Place in decorative tins or cellophane bags, keeping them in a cool, dry spot until gifted.
Make delicious homemade Peppermint Creams with dark chocolate drizzle. Easy to prepare, festive, and perfect for gifts or holiday treats.